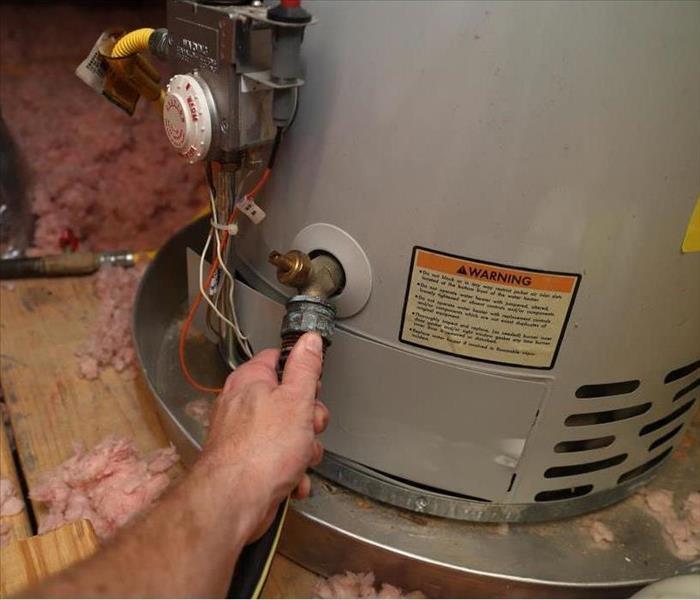
What To Know About Flushing a Water Heater
12/6/2019 (Permalink)
How to Perform a Water Heater Flush
If the water heater in your Chesterfield, MO, home is making odd sounds it may mean there is sediment in the water tank and it’s time to flush the unit. Before performing a water heater flush there are several important things to take note of.
1. It’s important to Turn the Heating Element Off
The first step to a heater flush it to turn the heating element off. This is done both to help reduce the possibility of injury to you, and to prevent any damage to the tank that can occur when the metal is heated without any water inside. Electric heating elements can be turned off by disconnecting the electricity, while for gas units the pilot light will need to be properly put out.
2. You May Need Several Flushes
When rinsing out your water heater it may take several flushes before the sediments is completely removed. This means you may need to turn the water valve on to help rinse the tank, and then off so the tank can drain several times. During this process it’s also important to ensure the drainage hose is directed to an area that can handle the flow of the draining water.
3. Remember to Inspect It
After you drain the tank during the water heater flush, but before the final refill, you may want to take the time to inspect the heater for potential damage. It’s also a good idea to check over the area around the tank to look for any sign of water damage. These may include discoloration or loose, soggy flooring. If you do notice signs of a problem it’s best to contact a water damage restoration service.
When flushing your water heater it’s important to turn the heating element off before you begin. It may also take several flushes to rid the tank of sediment. Finally, remember to take the time to inspect the heater and the area around it for any problems, and call a professional if water damage has occurred.


 24/7 Emergency Service
